Storm season has a way of exposing every weak spot in your yard, from wobbly trees to soggy soil that never drains properly. A little preparation now can mean the difference between a yard that weathers heavy wind and rain and one that leaves you with a costly cleanup afterward. This checklist walks you through the key outdoor systems worth inspecting and strengthening before the skies turn dark, so you can head into storm season with confidence instead of crossed fingers.
Inspect Trees for Weak Limbs and Structural Damage
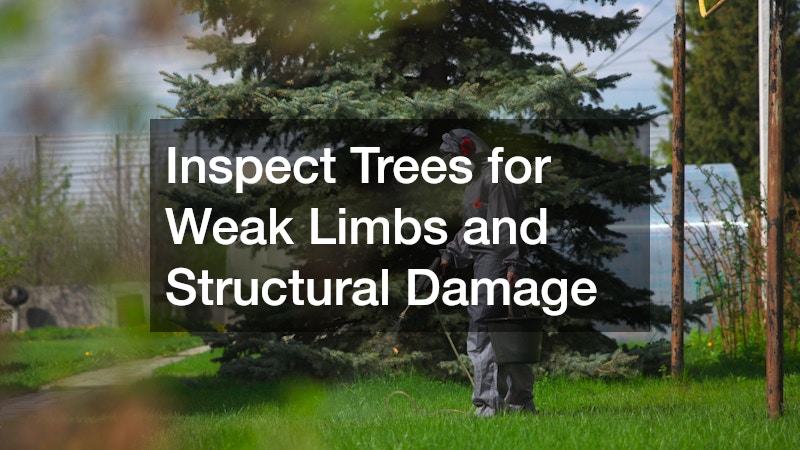
Trees are often the biggest liability in a yard once high winds arrive, especially if they have dead branches, cracked limbs, or a lean that has gotten worse over time. Walk your property and look up into the canopy for any limbs that appear discolored, brittle, or disconnected from the main trunk. Cracks in the bark, fungus growth at the base, and hollow-sounding trunks are all signs that a tree may not hold up well in a storm.
If you spot any of these warning signs, it is worth calling in professional tree services before storm season rather than after a limb comes down on your roof or fence. Arborists can assess whether a tree needs selective pruning or should come down entirely, giving you a clear plan instead of a guessing game.
- Look for V-shaped splits where branches meet the trunk
- Check for leaning that has increased since last season
- Note any exposed roots that suggest soil instability
- Watch for a thinning canopy or unusual leaf drop out of season
Schedule Removal for Hazardous or Dying Trees
Some trees are simply too far gone to save, and waiting until a storm forces the issue almost always leads to more damage and higher costs. A dead or severely diseased tree near your house, driveway, or power lines is a liability that only grows more dangerous with each passing storm season. Getting ahead of the problem with planned tree removal is far safer and often cheaper than dealing with an emergency after the fact.
When a tree does come down unexpectedly during a storm, storm damage tree removal requires a different level of urgency and expertise, since downed trees are often tangled in power lines, fences, or structures. Professionals trained in this kind of removal know how to assess unstable trees safely, which is not something to attempt on your own with a chainsaw and a ladder.
- Prioritize trees within falling distance of your home or garage
- Flag trees with visible rot, cavities, or fungal growth
- Consider trees that have already partially uprooted
- Remove dead trees before they become a bigger hazard in high winds
Trim Overhanging Branches Near Rooflines and Power Lines
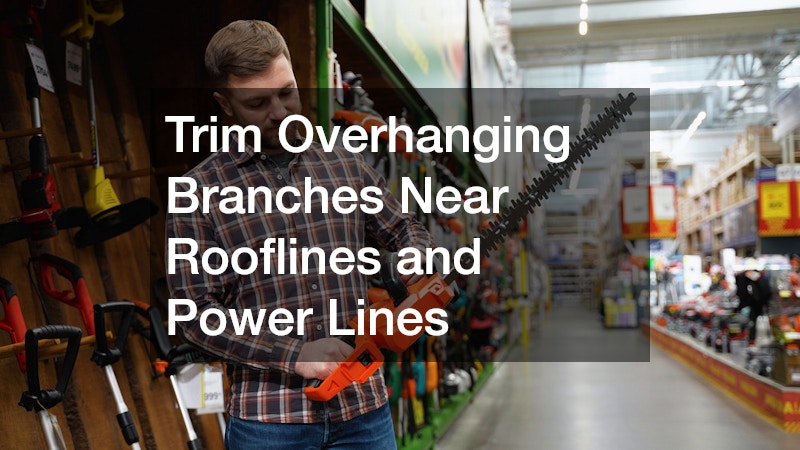
Even healthy trees can cause damage if their branches hang too close to your roof, gutters, or overhead power lines. Wind-driven branches can scrape shingles, clog gutters with debris, or snap off entirely during a storm, so trimming them back before the season starts is a smart preventive step. As a general rule, branches should be kept at least 6 to 10 feet away from rooflines and utility lines to give room for sway during high winds.
Pay close attention to limbs that overhang chimneys or vents, since falling debris there can lead to blockages or fire hazards. Dead or cracked branches are especially risky, as they’re more likely to break loose even in moderate wind rather than a full-blown storm. Gutters clogged with leaves and twigs from overhanging branches can also cause water to back up under roof shingles, leading to costly interior damage.
Branches anywhere near power lines should never be handled as a DIY project. Contact your utility company or a licensed arborist if trimming is needed close to electrical equipment, since even a small mistake can cause outages or serious injury.
A trained tree trimming service can shape the canopy to reduce wind resistance while keeping the tree healthy long term. Beyond safety, professional trimming also promotes better air circulation and sunlight exposure, which helps trees resist disease and storm stress in the years ahead.
Branches near power lines deserve extra caution, since utility companies often have specific rules about how close crews can work to live wires. Most utilities require at least 10 feet of clearance between branches and power lines, and that distance needs to account for future growth, not just the tree’s current size. Wet or windy conditions can also cause branches to sway into contact with lines, even if they look safely clear on a calm day.
In many cases, the utility company needs to be involved or notified before any trimming happens near their equipment. Many providers offer free trimming services for branches that threaten their infrastructure, since keeping lines clear is in their interest too. A quick call to your utility company’s customer service line can usually get a crew scheduled within a few weeks, depending on the season and demand.
Never attempt this kind of trimming yourself if branches are anywhere near power infrastructure. Even a dead or dry branch can conduct electricity if it’s still in contact with a live wire, and aluminum ladders or metal tools only increase the risk. If you’re unsure whether a branch is close enough to be dangerous, treat it as though it is and call in professionals rather than guessing.
- Trim branches that hang within six feet of the roofline to prevent storm-driven impacts on shingles or vents
- Remove limbs rubbing against siding or gutters, since even light contact can wear away paint and clog drainage over time
- Thin dense canopies by 20-25% to let wind pass through more easily, reducing the “sail effect” that topples whole trees
- Check for dead or cracked branches anywhere in the canopy, not just near structures, as these fail first in high winds
- Cut back growth over driveways and walkways to avoid falling debris blocking access during a storm
- Coordinate with your utility provider for line-adjacent branches, since utilities often trim for free, and unauthorized cutting near power lines can be dangerous or illegal
- Schedule major trimming in late fall or early spring, before storm season peaks, so cuts have time to heal before stress hits
Bring in Equipment for Large or Hard-to-Reach Trees
Not every tree can be safely trimmed or removed with a ladder and standard equipment, especially large, mature trees positioned close to structures or in tight spaces. In these cases, tree crane services become an important tool, allowing crews to lift and remove heavy limbs or entire tree sections without dropping them onto your house, fence, or landscaping. This approach is particularly useful for trees over 60 or 70 feet tall, where controlled removal is critical.
Using a crane also reduces the amount of time a crew needs to spend in a hazardous position, which lowers risk for everyone involved and often speeds up the job. If you have a tree that towers over your roofline or sits between your home and a neighbor’s property, it is worth asking whether crane-assisted removal makes sense for your situation.
- Best suited for trees taller than two stories
- Reduces risk when removing sections near structures
- Minimizes lawn and landscape damage during removal
- Often necessary in tight urban or suburban lots
Clear Gutters and Downspouts Before Heavy Rain Arrives
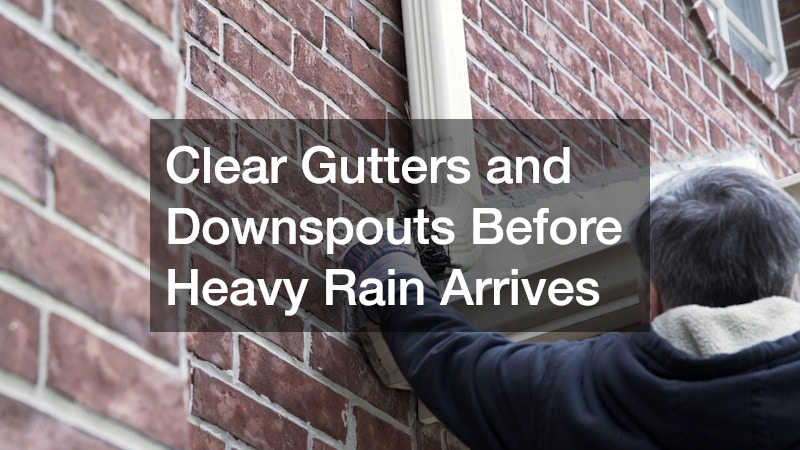
Clogged gutters cannot do their job when a storm rolls through, and that means water ends up pooling near your foundation instead of flowing safely away from your home. Leaves, twigs, and seed pods build up quickly in late summer and early fall, right around the time storm activity tends to pick up. Clearing this debris now prevents overflow that can damage siding, soffits, and landscaping beds below.
While you are up there, check that downspouts extend far enough away from the foundation to carry water clear of your basement or crawlspace. A downspout that dumps water two feet from your house is not doing much good, and extensions are an inexpensive fix.
- Remove debris from gutters and downspout openings
- Check for sagging sections or loose brackets
- Extend downspouts at least four to six feet from the foundation
- Confirm water flows freely during a test with a hose
Strengthen Your Lawn So It Recovers Faster After Storms
A healthy, well-rooted lawn handles heavy rain and wind far better than one that is thin, patchy, or stressed. Deep, established root systems hold soil in place and reduce the amount of standing water and erosion you see after a big storm. This is why timing your lawn fertilization schedule ahead of storm season matters, since it gives grass the nutrients it needs to build stronger roots before wet weather arrives.
Fertilizing at the right time also helps your lawn bounce back faster if it does get battered by wind, hail, or pooling water. Grass that is already stressed from nutrient deficiency takes longer to recover and is more prone to fungal issues after prolonged dampness. A soil test can tell you exactly what your lawn needs, so you are not guessing at the right blend.
- Fertilize four to six weeks before your region’s typical storm season
- Choose a slow-release formula for steady nutrient delivery
- Water thoroughly after application to help nutrients absorb
- Avoid fertilizing right before a major rain event to prevent runoff
Apply Fertilizer Evenly for Consistent Root Strength
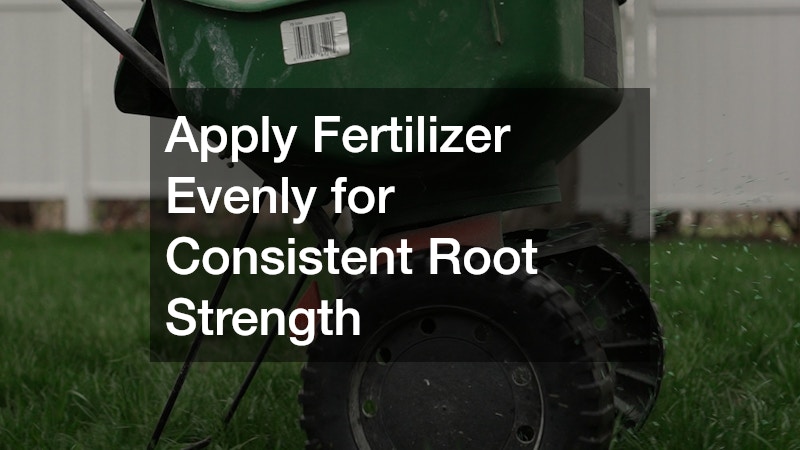
Even the best nutrient mix will not help much if it is applied unevenly, leaving some patches of lawn thick and healthy while others stay thin and vulnerable. Using a quality fertilizer spreader ensures consistent coverage across your entire yard, which translates to uniform root strength when storms put your lawn to the test. Handheld spreaders work fine for small yards, while broadcast or drop spreaders are better suited for larger properties.
Before you begin, calibrate your fertilizer spreader according to the product label so you are not overapplying in some spots and underapplying in others. Overlapping your passes slightly as you walk the yard helps avoid the striped look that comes from gaps in coverage. Taking a few extra minutes to do this correctly pays off with a lawn that holds together better when heavy weather hits.
- Match the spreader settings to the specific product being applied
- Walk in straight, overlapping passes for even coverage
- Clean the spreader after each use to prevent clogging
- Consider a drop spreader for precision near flower beds and walkways
Improve Drainage With a Properly Designed Irrigation System
Believe it or not, a well-planned irrigation setup can actually help your yard handle storms better, not just keep it green during dry spells. Proper sprinkler system installation includes grading and zoning considerations that reduce pooling and direct excess water away from your home’s foundation. If your yard consistently has low spots that collect water, an irrigation upgrade might be part of the long-term fix.
Working with an experienced irrigation contractor before storm season means they can assess how your current system interacts with drainage patterns on your property. They may recommend adjusting sprinkler heads, adding drainage lines, or regrading certain areas so rainfall does not compound whatever water your sprinklers are already distributing. This kind of assessment is especially valuable if you have noticed erosion or standing water after past storms.
- Ask about grading assessments during system evaluations
- Consider drip irrigation in areas prone to runoff
- Have shutoff valves inspected before the heavy rain season
- Look into smart controllers that pause watering during storms
Secure Loose Outdoor Items and Structures
High winds do not need much encouragement to turn patio furniture, planters, and decorations into projectiles. Walk your yard and identify anything not permanently anchored, then decide whether it needs to be stored, tied down, or weighted before a storm warning is issued. This is an easy task to overlook until the last minute, so building it into your seasonal routine saves stress later.
Sheds, fences, and other structures deserve a once-over as well, since loose panels or weakened posts can fail under sustained wind pressure. A few minutes spent tightening hardware or reinforcing weak points now is much easier than dealing with a collapsed structure after the fact.
- Store or anchor patio furniture and umbrellas
- Secure trash cans and recycling bins
- Check fence posts for rot or looseness
- Inspect shed doors and roofing for weak spots
Getting your yard storm-ready is not about doing everything in one weekend, but about steadily working through each system so nothing gets overlooked. Start with the biggest risks, like hazardous trees and clogged drainage, then move on to strengthening your lawn and securing loose items around the property. A little planning now means less scrambling when the forecast turns severe, and a yard that is far more likely to come through the season intact.
About the Author